The Harley Davidson Sportster appeals to me because it’s a classic bike that looks great and is very powerful. You never look like a douche when you are sitting on a Harley!
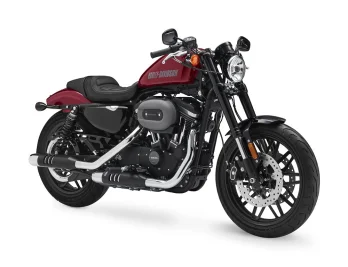
I bought a used 2009 model a few years back. It looks very much like the picture above. They don’t really change over the years other than maybe the seat or the shape of the tank. That’s also part of the appeal.
The only thing that bothers me about it is the lack of information on the gauge. There’s no gear indicator other than neutral and no RPMs. All you get is the odometer and the MPH. I’m not one to accessorize something this cool and I love the stock look of the bike. In fact, I took parts off of it! Replaced the upgraded shifting pedal to the stock one and took the engine guard off the front. There’s a seat rest on the back that I want to take off. But an upgrade to the gauge would be a worthy and needed change!
I bought the combo speedometer/tachometer from my local Harley Davidson dealer. My main concern was how to install and how not to screw up the linking of the odometer information. You have to link the new gauge to the bike and sync the data from the old one. I’m going to lay out how I did this successfully with pictures.
Reference data:
Part: Combination Digital Speedometer/Analog Tachometer-70900274
Combination Digital Speedometer/Analog Tachometer-70900274 Installation Instructions
Please use the instructions that came with the gauge and use my guide as a reference. I am not responsible for any damages you do to your equipment. I am just providing a reference. If you see any errors in my information, please contact me using the contact page! Good luck and safe driving!
Open the access panel on the left side of the bike to gain access to the data link port and the fuse. Take the fuse cover off (see: the green fuse).
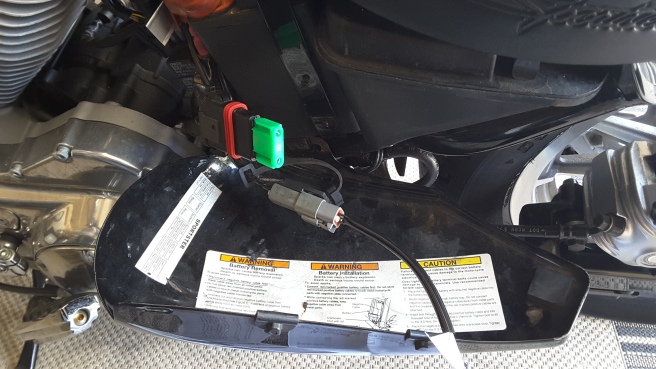
Next, remove the rubber plug from the data sync cable on the Harley. You are going to plug the jumper that came with your new gauge into the bike’s data cable and on the other end you will plug into the new gauge. Take note of the key on the connector that goes into the gauge. It faces downward.
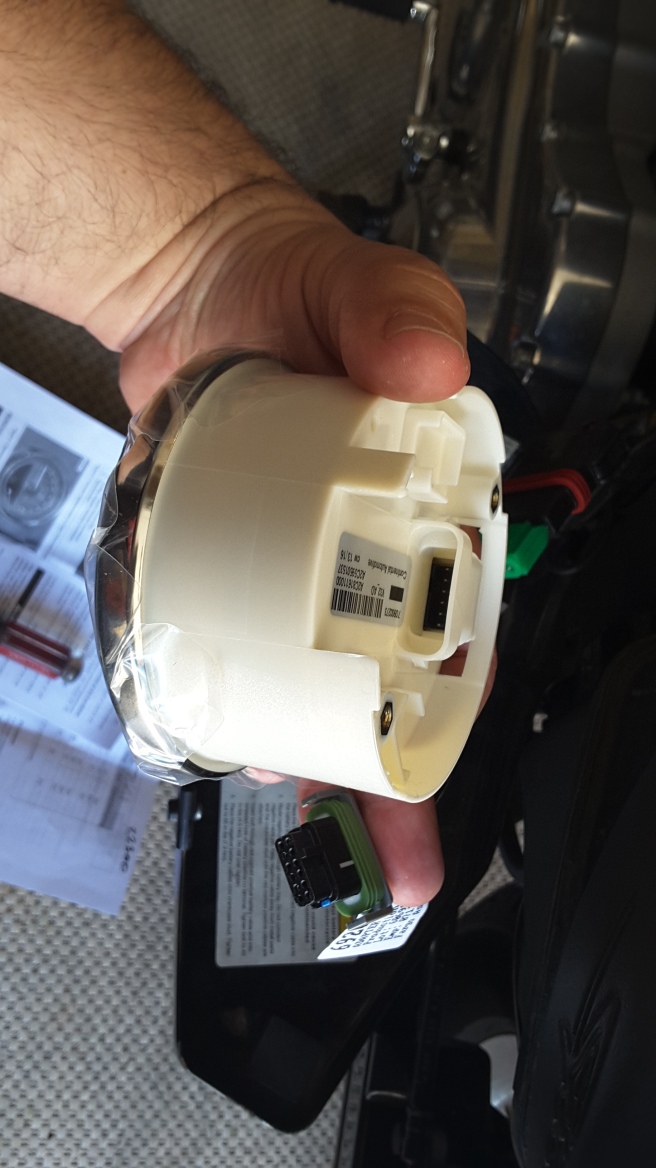
Jumper data cable is installed. Ready for sync.
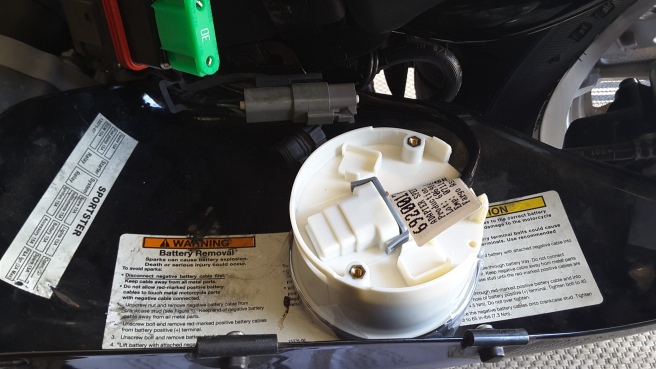
Turn your key to the ‘Ignition’ position. The data will sync very quickly and display “OK” when it’s done. In my case, the first time it said, “FAIL” which freaked me out. I disconnected the cable from the bike’s data connection and reconnected. It synced that time. Took a couple seconds. *relief*. Replace the rubber plug on the data link port on the bike and turn your key back to the ‘off’ position.
Now we are going to install the newly synced gauge. According to the instructions, the first thing you should do is remove the main fuse (the green fuse from the first step.) Remove the two 1/4″ Allen head bolts from the top side of the gauge. Carefully flip the gauge assembly over and remove the (2) 3/32 allen screws from the back plate.
Take the back plate off. Put all of the hardware together in safe place so you don’t lose it. Carefully remove the seal.
Disconnect the connector and carefully move the trip odometer button assembly to the side. Carefully pull the gauge out from the top side and remove the seal. Clean the seals if they are dirty with soap and water. The old gauge is free and now you can reverse the assembly process with your new gauge.
Center the gauge before you tighten it down. Once it’s installed, you can plug your fuse back in and put the cover back on it. Put the black metal cover back on because you are almost ready to go… Turn the ignition back on and check out your odometer reading. If you are successful you can go back to the instructions to see how to customize your new gauge. If not, see the troubleshooting section in the instructions. I hope this guide was helpful!


